
Start hosting your Images with BakeMyWeb


Hosting a file and image with BakeMyWeb is as easy as it can get. In today's article, you will see how quickly you can get it up and running.
Let's begin...
Create a Project
Assuming you have already
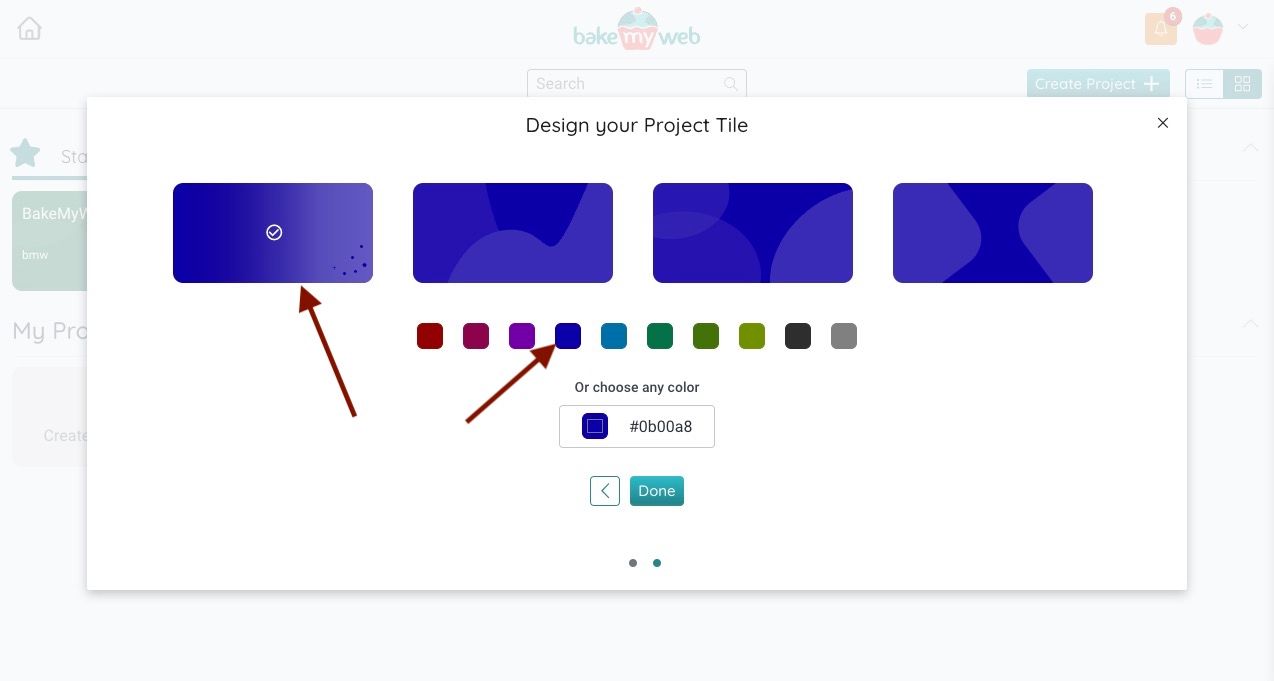
signed up and logged in, start by creating a project using Create Project button.

Choosing a tile color at this time is useful during project management later.
Start collecting your Images
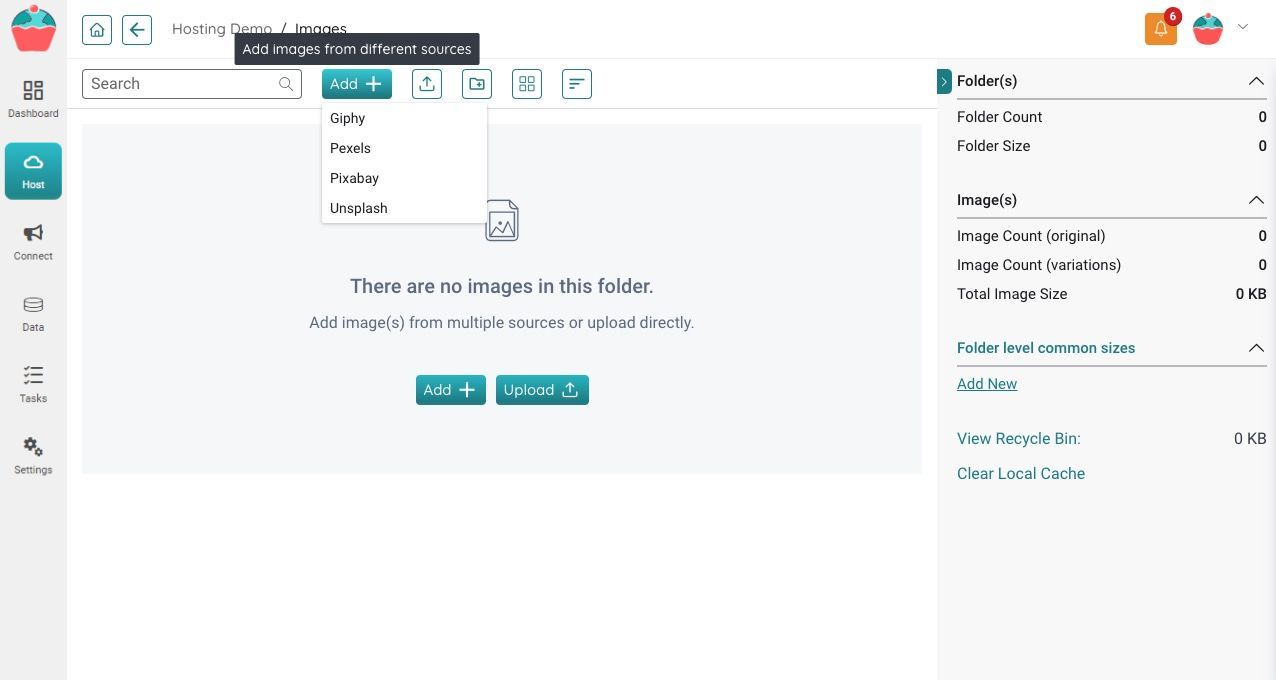
You can click on the Host > Images in the left Menu bar and start collecting your images right away. Click on Add button. Click on an Image provider, ex. "Pexels". There are currently 4 image providers to choose from.
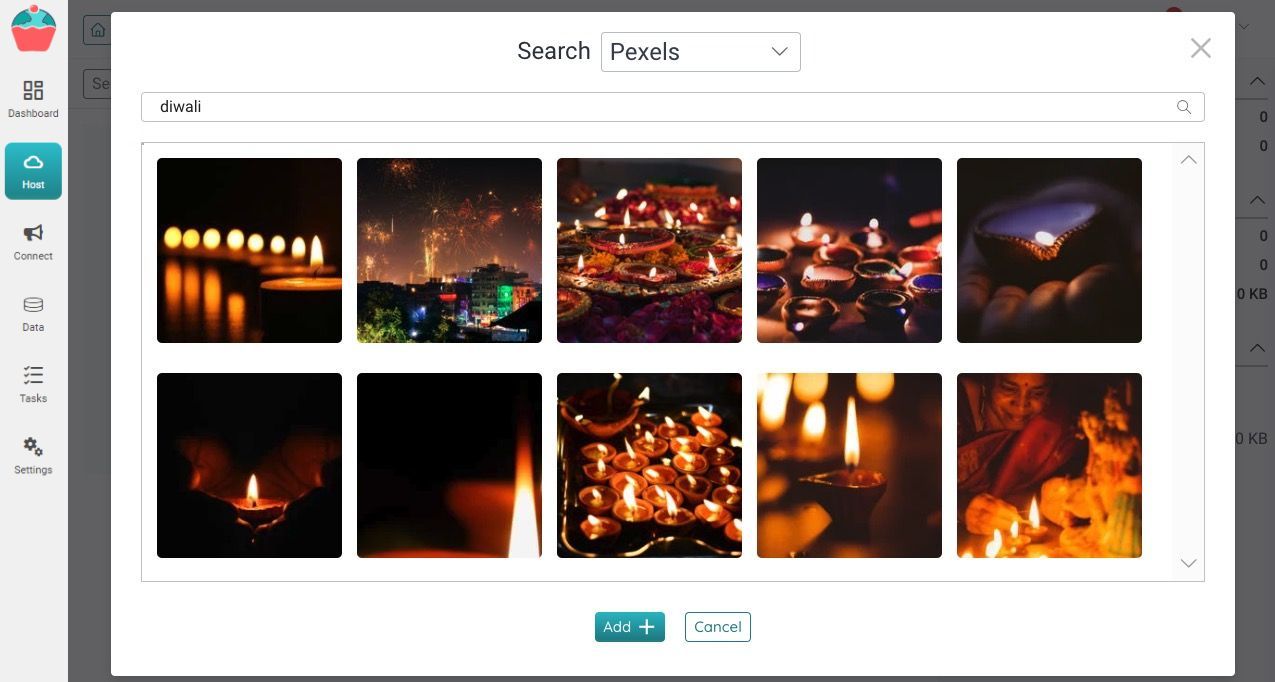
Search for images that you need, ex. "Diwali". You can select multiple images and click the Add button.
Awesome! Your selected images are added to your project.

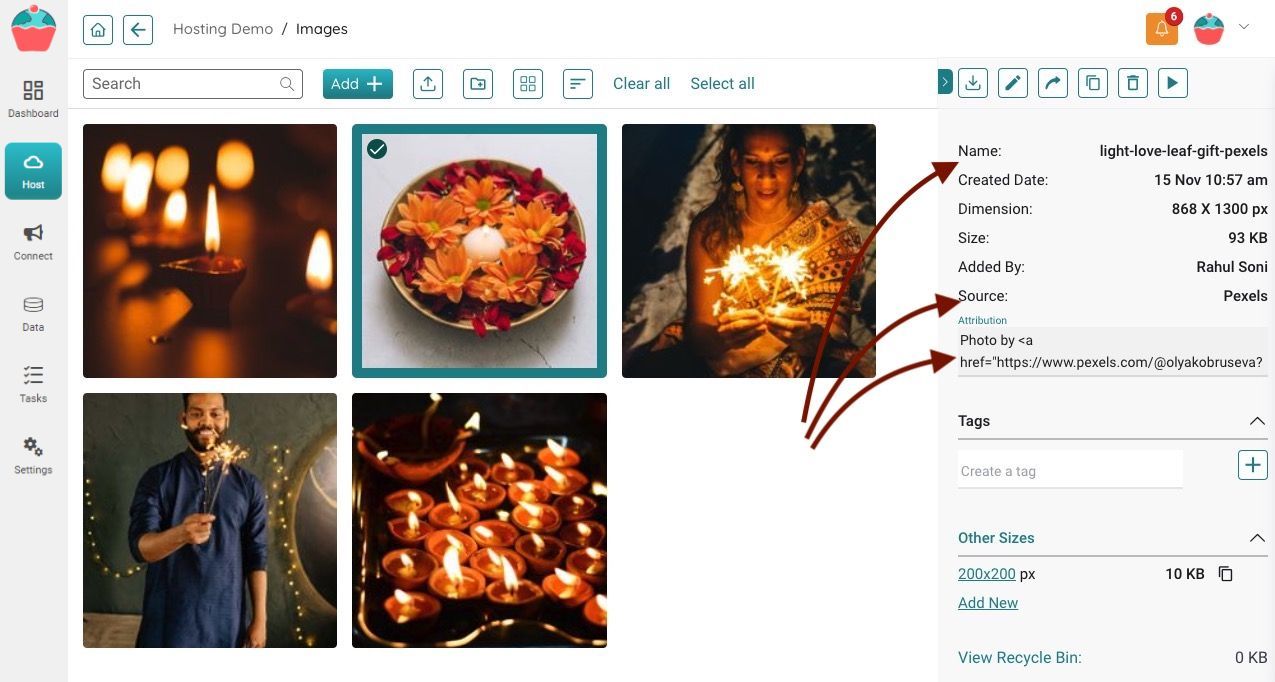
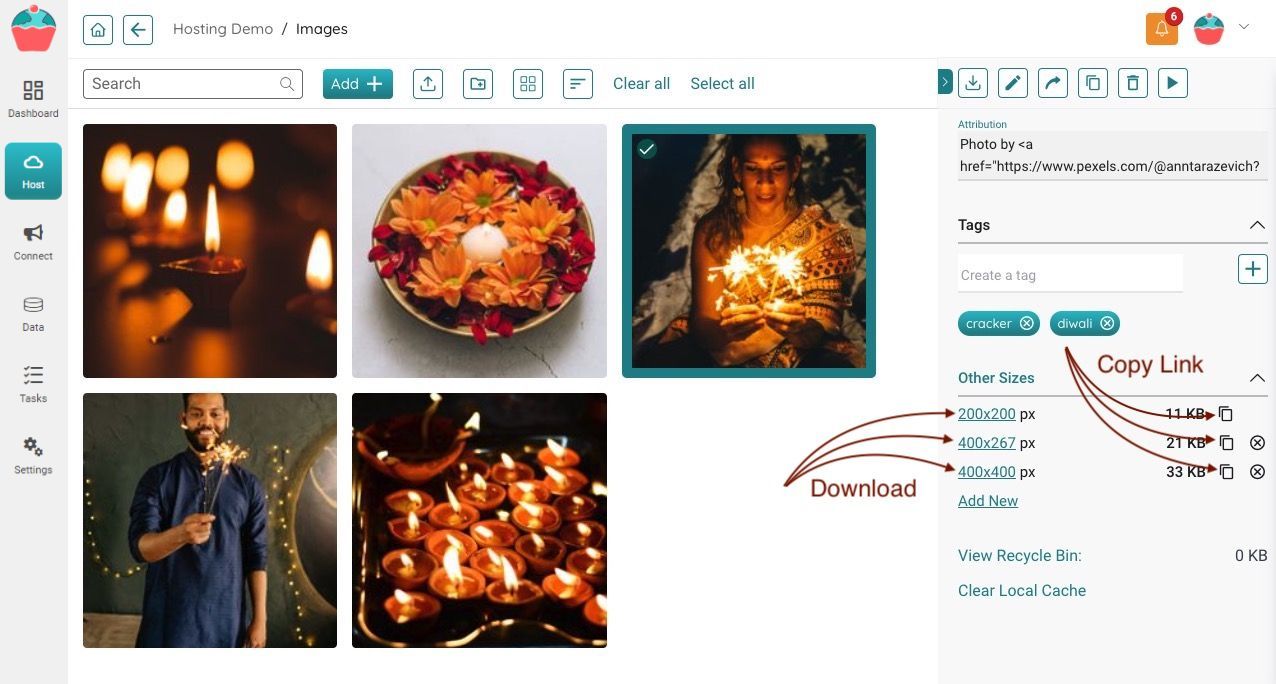
You can preview the image details by clicking any image. This makes it super easy to attribute the image usage later. BakeMyWeb automatically pulls image attributes from the respective image provider and saves it locally. The files are now present locally in your project and won't be affected if the source image from the image provider is deleted.
Working with Images
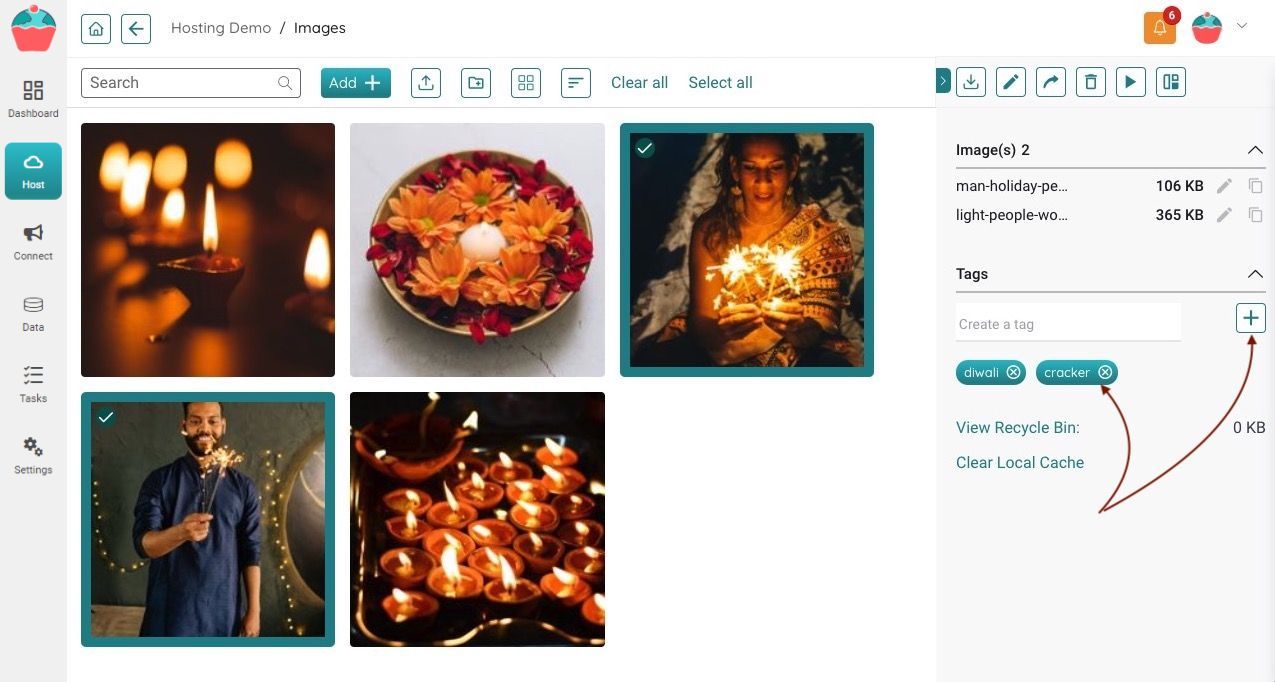
You can select multiple images and apply tags, so it becomes easy to search later. Apply multiple meaningful tags to the images if you need.
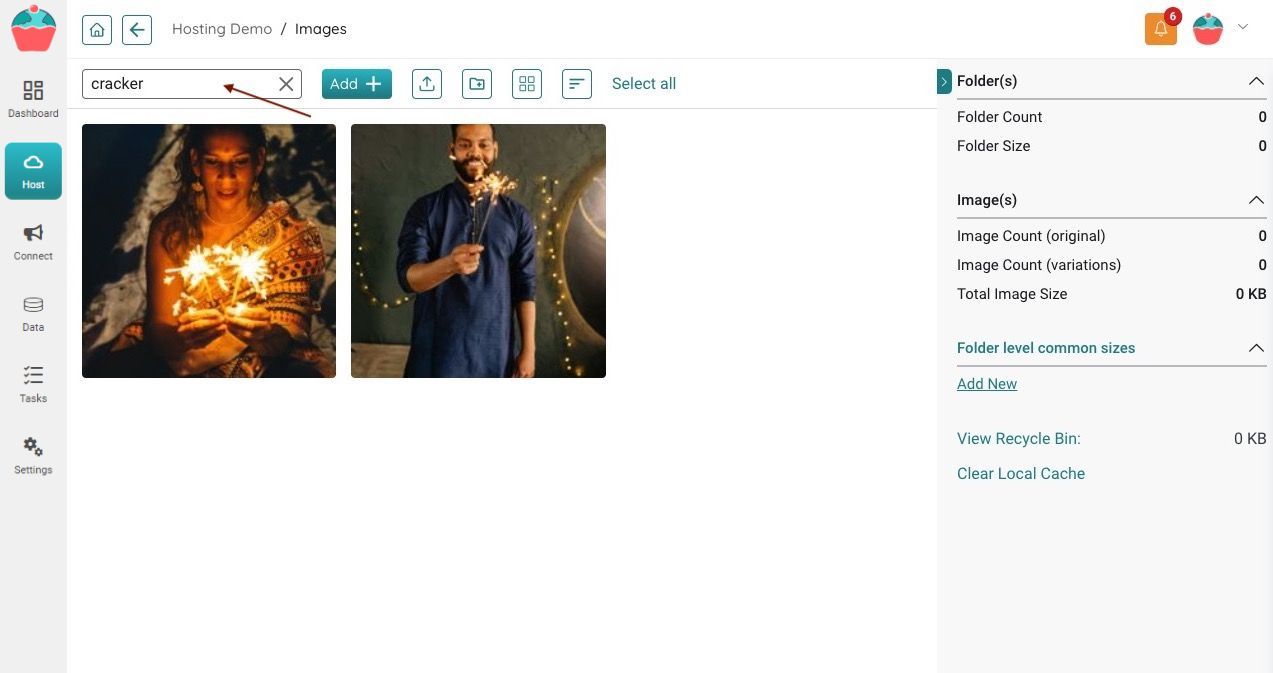
Use the search bar and hit Enter key to search for all images that match your tag or any other image details.
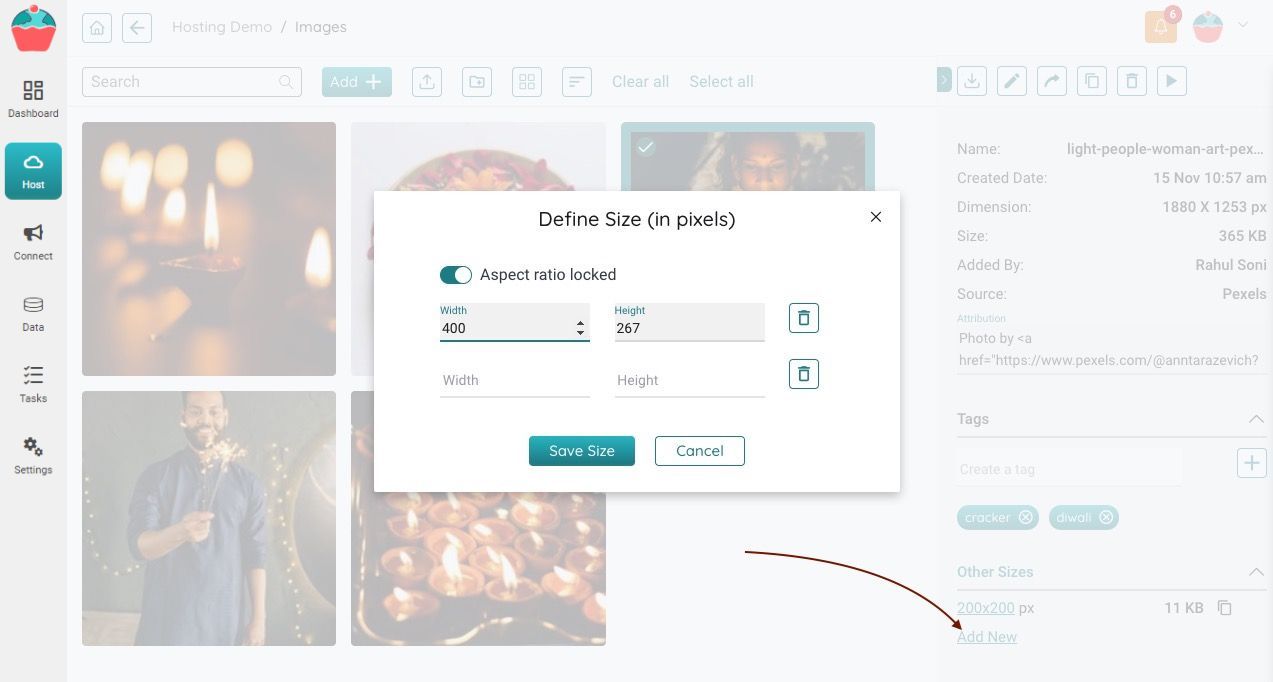
Any email with large images adversely impacts the user experience since it takes forever to load. To make user experience better, it is advised to reduce the size of the image. BakeMyWeb allows you to redefine image size directly in the browser. Select your image and click on Add New link in Other Sizes section of the configuration panel. You will need to define one or more sizes here.
Notice the switch that says Aspect ratio locked. When it is enabled, and you provide either Width or Height, the other parameter is automatically calculated for you. It means that your height will be adjusted accordingly. If you like, you can turn this feature off, and provide the concrete dimensions yourself. In the following case, the image will be not cropped automatically since aspect ratio is locked.
Examples:
Cropped image when Aspect ratio locked was OFF (400x400) - 34kb. That's a size reduction by almost 90% and lesser bandwidth cost.

Resized image when Aspect ratio locked was ON (400x267) - 21kb. That's a size reduction by almost 95% and even lesser bandwidth cost!

Original Image - 374kb.

Your images are now live and ready to be used anywhere. The copy button present for every image gives you access to the link of different sizes. You can use Copy Link (see image below) to get the shareable URL of the image. To download various versions directly click the Download link (see image below) or use the Download button.
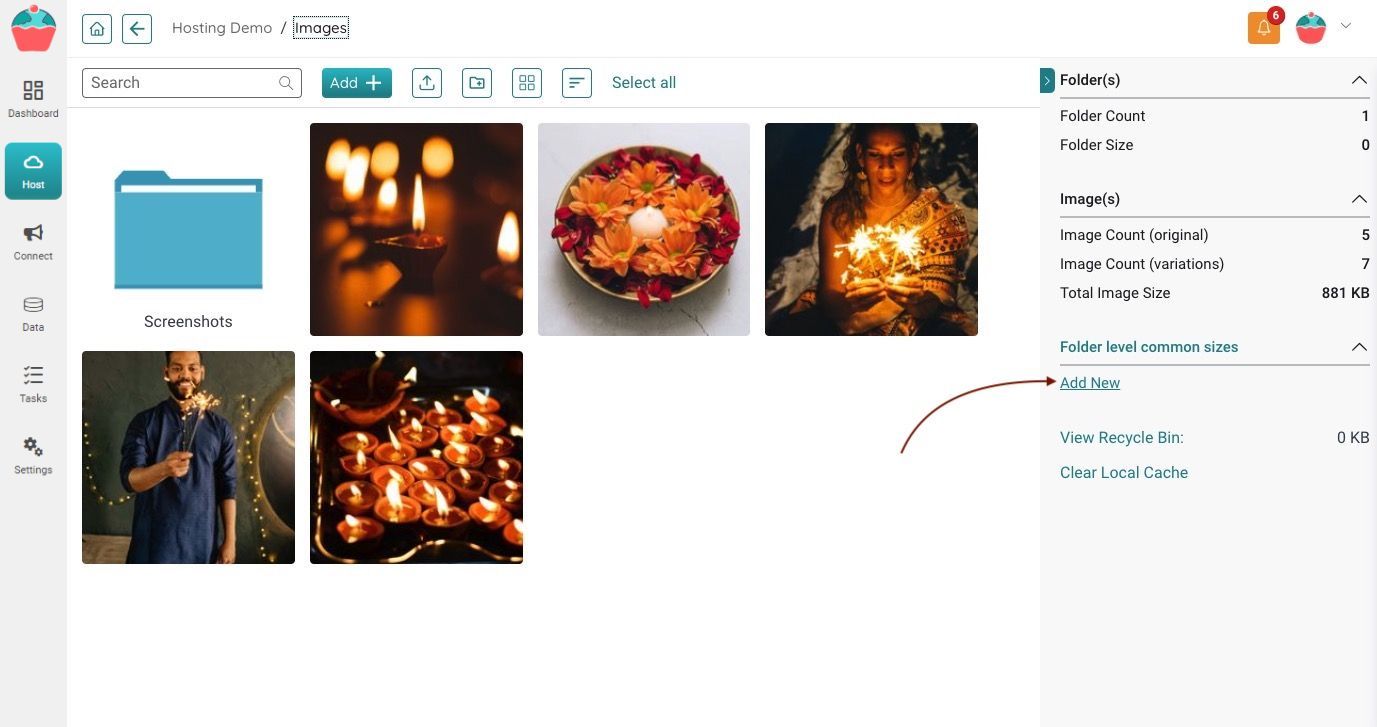
Managing Images & Folders
Having many images at the same level could be a little difficult to manage. To manage it better, you can use folders. Use the create folder button.

Once the folder is created, you can select the folder and set its properties. If you set a folder level property for size, all images in this folder will be resized the moment you add it. Isn't it great? In this case, since no folder is selected, clicking on Add New link will set the size property at the root level. If you would have selected Screenshots folder and used the same Add New link, it would have set the property for only the selected folder. It is a very handy feature for people hosting blogs or campaign creators, since it automates the mundane job of creating images of different sizes.
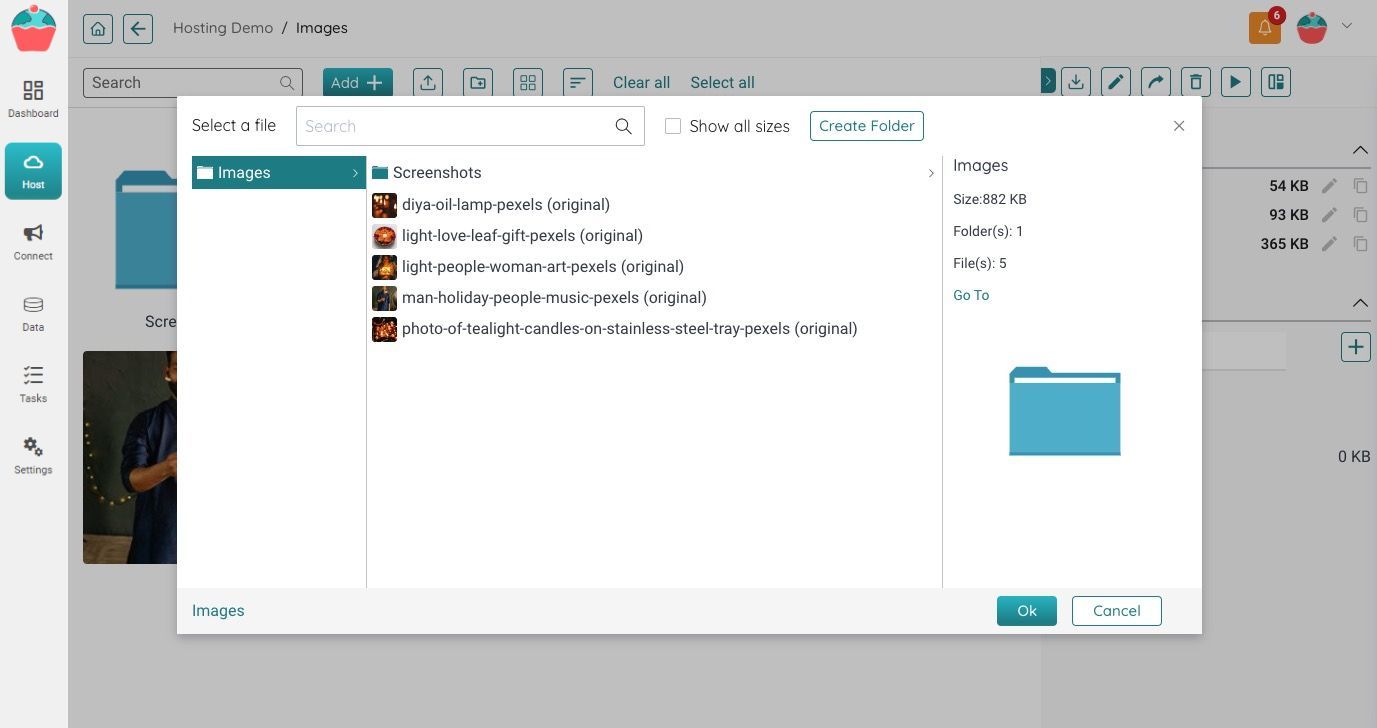
You can move the images if needed and as necessary to different folders.
One more thing...
The images once uploaded to BakeMyWeb have a fixed URL, so reorganizing them locally doesn't change the final URL and the links will continue to work. So, play around and keep things organised. We hope you will enjoy hosting your images with BakeMyWeb. There is more to it, but let's keep it for the next post.
Stay tuned & keep baking! 🍰


