How to send beautiful emails with your Gmail account


Sending an email with Gmail or any other client is a no-brainer. However, sending beautiful emails is not! Most email providers do not provide an interface for you which lets you send really beautiful emails. With BakeMyWeb and Gmail combo, you can get the best of both worlds. Your outgoing mails for special occasions can be made beautiful in very easy steps. Why send the boring mails, when you can wow them!

Learn step by step about how would go about it.
Gmail configuration
You need to have a valid Gmail account. Login to your Gmail account and enable IMAP so that you are able to use SMTP service of Gmail without hosting your own SMTP servers.
- Goto
Settings>Forwarding and POP/IMAP> Click onEnable IMAPand save the changes.

Now, you will need to enable 2-Factor Authentication in your account. This is an extremely important step.
- Click on
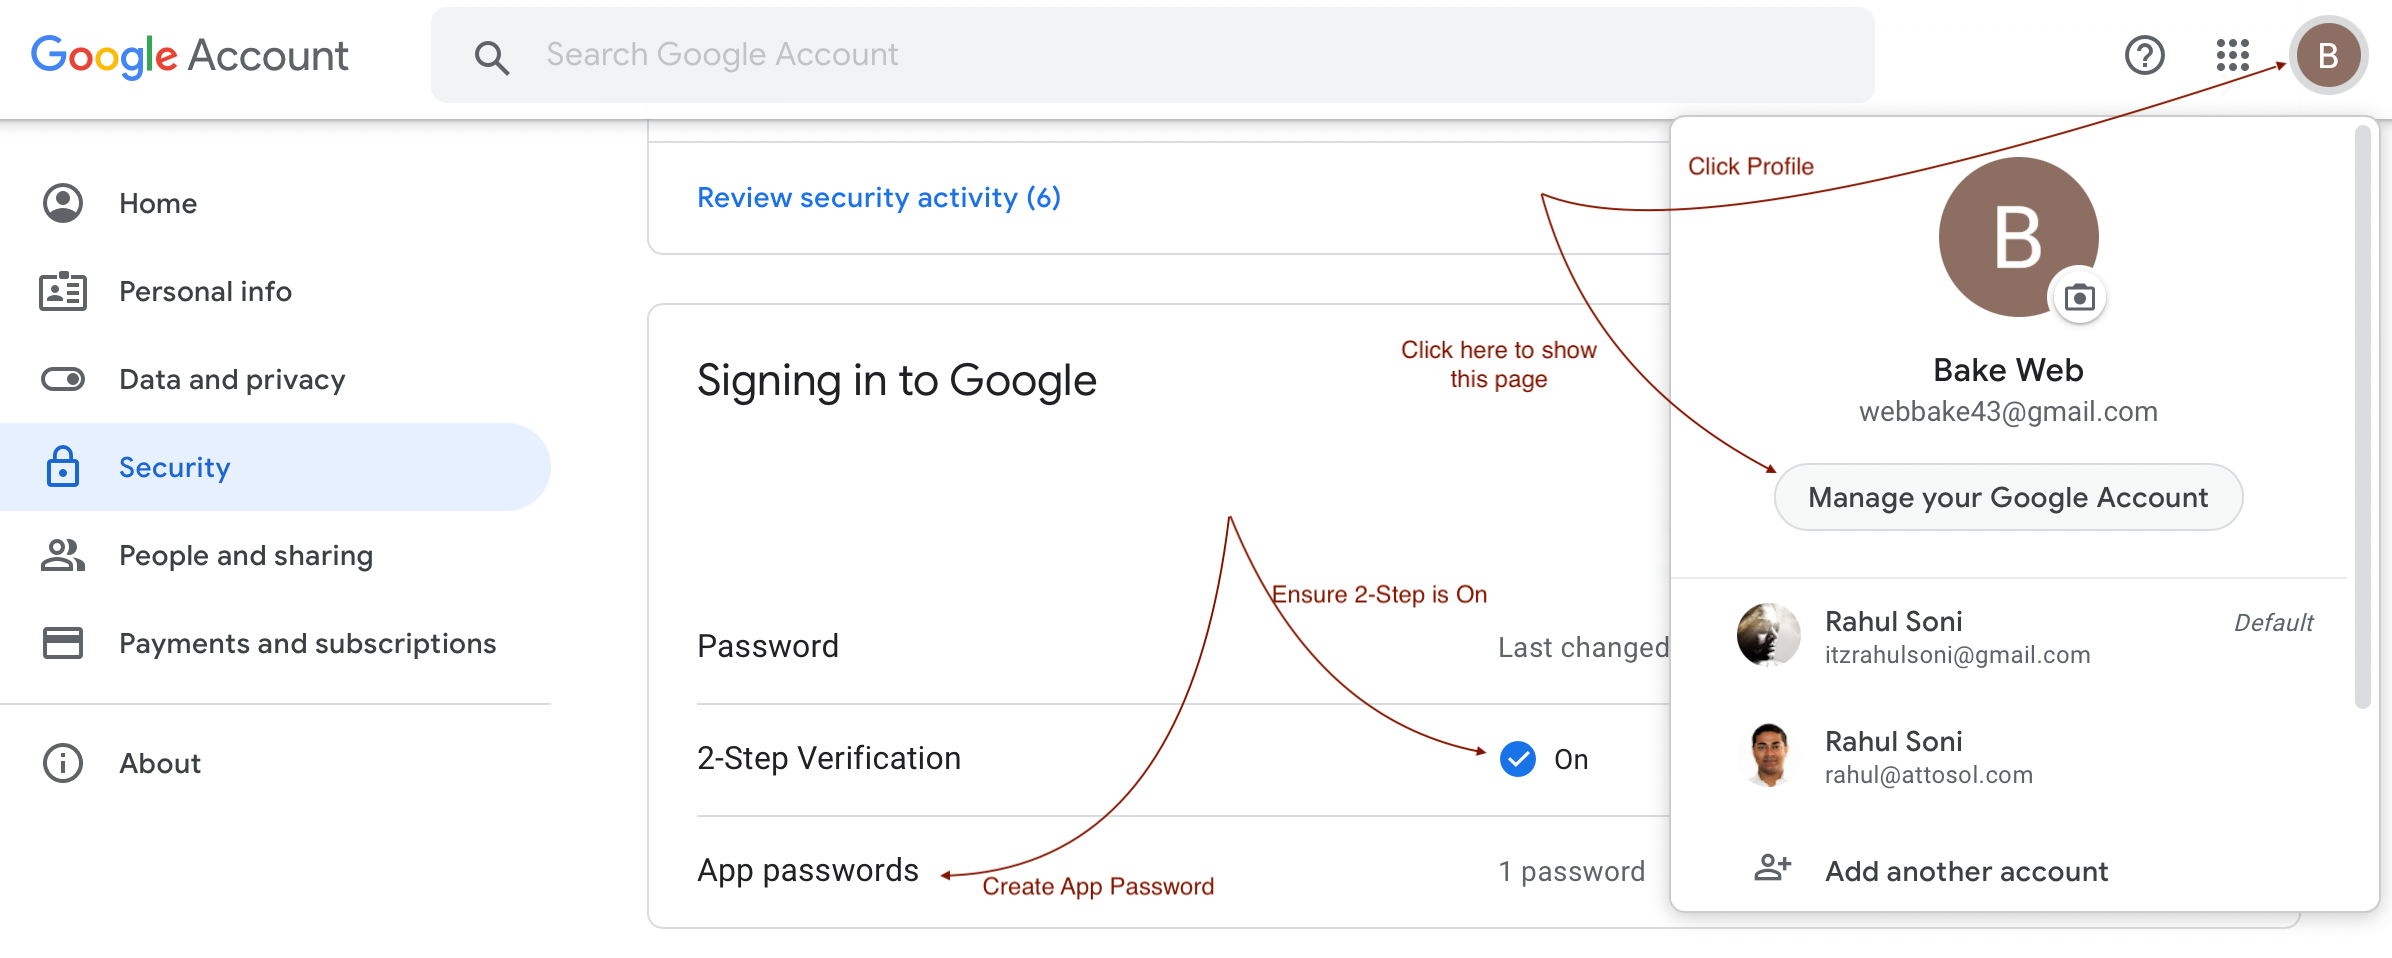
Manage my Account>Securitypage. On theSecuritypage, scroll down until you findSigning in to Googlesection. Click on 2-Step Verification and get started with your extra layer of security. Unless you enable 2-step verification, you won't be able to use your Gmail account's SMTP information on BakeMyWeb.

- Click on
App Passwords(just below 2-Step Verification option) and selectOtheroption. - Name the app (ex.
For BakeMyWeb) and click onGENERATEbutton.

- Once the password is generated, make a note of the new password for further usage and click on
DONE.
Over to BakeMyWeb
Once your Gmail account is configured,
login to BakeMyWeb, and navigate to Project > Settings > Verified Emails.
- Click on the
Verifybutton. - Enter your name.
- Enter your Gmail id in Email field.
- Select
GmailinService Provider. - Host & Port will be prefilled for you, and should work as is.
- Username field will be disabled and contain your email id which is same as what you filled before.
- Password field should contain the
App Passwordthat you collected earlier. - Click on the
Start Verificationbutton.

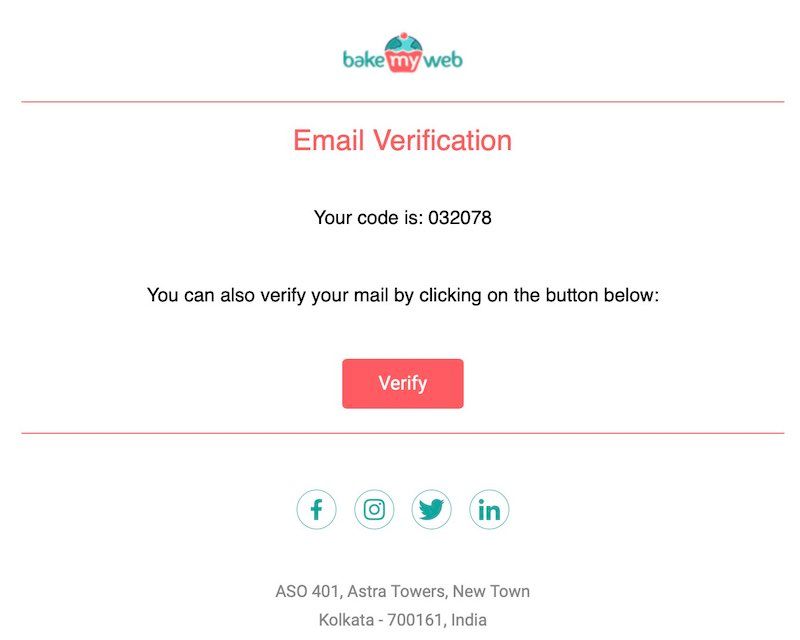
- If you have done everything correctly so far, you will be presented a dialog to enter your One Time Password.

- Please check your email for the code and provide it here.

You should now see a screen similar to the following:

In the State column, if you see a ✅ it means, everything is alright and you are all set to send your email.
Phew! The hard part is over. Let's get to the fun part: Sending the email.
Send your first email with BakeMyWeb
- Navigate to
Your Project > Connect > Send Email. - Click on
Addbutton. - Select one of the templates.

- Provide a
Campaign Namein the right configuration panel. - Click
Save & Proceedbutton at the bottom. - Click on the
Sendbutton. Choose your verified email id in theFromfield. - Select
Directso it allows you to send an email directly to a set of recipients. Soon, you will learn how to send a personalised email with variables to a set of contacts just as quickly. - Provide a valid email (or multiple emails separated by commas).

- Click on the
Sendbutton and wait a few seconds! Your swanky little email would have arrived. Check your email and confirm you have received it. - If you are curious to know what is happening behind the scenes, you can click on the
Tasksmenu and view the details of the process.

Stay tuned, and you will learn all about the various features.

